Cake Decorating Basics: Unicorn Cake
- Aishwarya Atmakuri
- Sep 13, 2020
- 8 min read
Updated: Jan 9, 2021
I made the viral unicorn cake for Anushree's birthday! We made a chocolate cake with a custard filling and dulce de leche frosting (recipes below). Cake decorating is a hobby me and my sister have shared ever since I was ten. We made so many memories while baking and there was no better way to spend her birthday (and the day before) decorating a cake together. Given that quarantine has no end in the near future, a lot of us might choose to make a homemade cake for our loved ones. I'm going to cover some cake making basics - from baking to decorating - in this post for you to try for yourself!
Recipes in this post:
Custard
Dulce de leche buttercream
Chocolate truffles
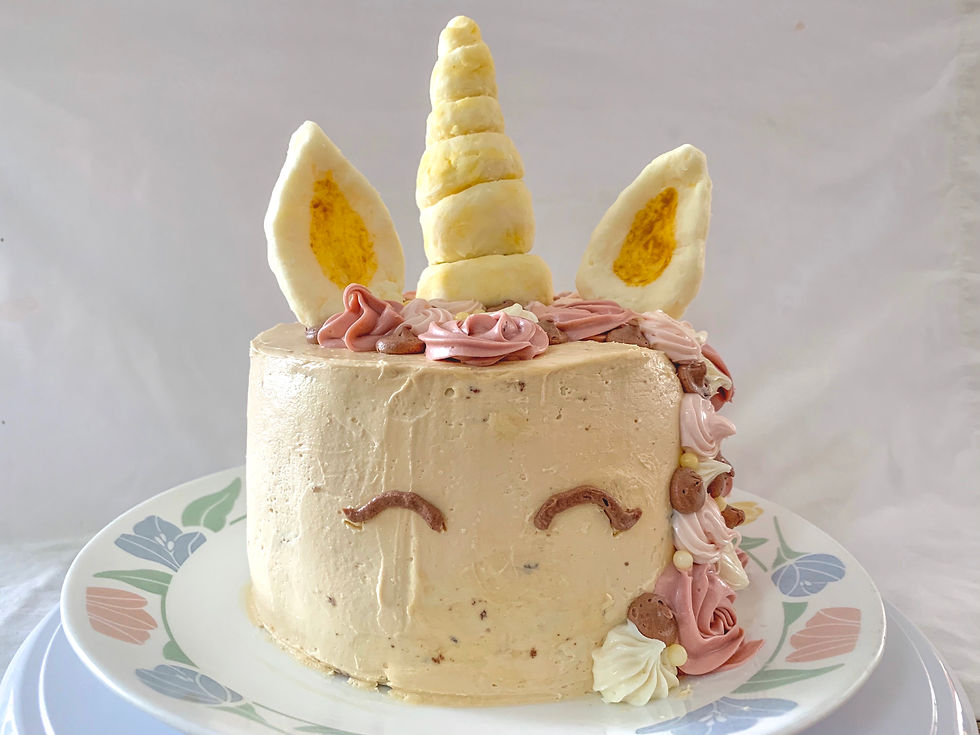
THE CAKE
I knew this cake has a lot of components, so I decided to use a boxed cake mix to start. Boxed cake mixes only require three ingredients: eggs, water, and oil. I used 3/4 of a box of cake mix to make 3 6-inch tiers each around 1 inch tall. I used Betty Crocker's German Chocolate cake mix to get a moist, milk chocolate cake.

I don't own a 6-inch cake pan, but I have a set of cake rounds from India. I cover the bottom with foil and its good to go. I find it helpful to line the bottom of my pans with parchment paper. This makes it super easy to remove from the pan, which is extra useful if your cake is too moist. To cut parchment paper in a circle, start with a square that is the same length and width as your cake pan. Fold it into quarters and then fold it twice more to get a skinny triangle. Trim the triangle to make it isosceles (yes, I tutor math) and unfold to get a circle. Grease the sides so the cake does not stick when it cools.

To get cake to bake flat, wrap the pan with a moist towel. This cools down the edges and allows heat to spread evenly, creating a flat cake. Cake mix cakes are prone to rising, so reduce waste by baking flat. I cut up an old rag and used a safety pin for the edges.
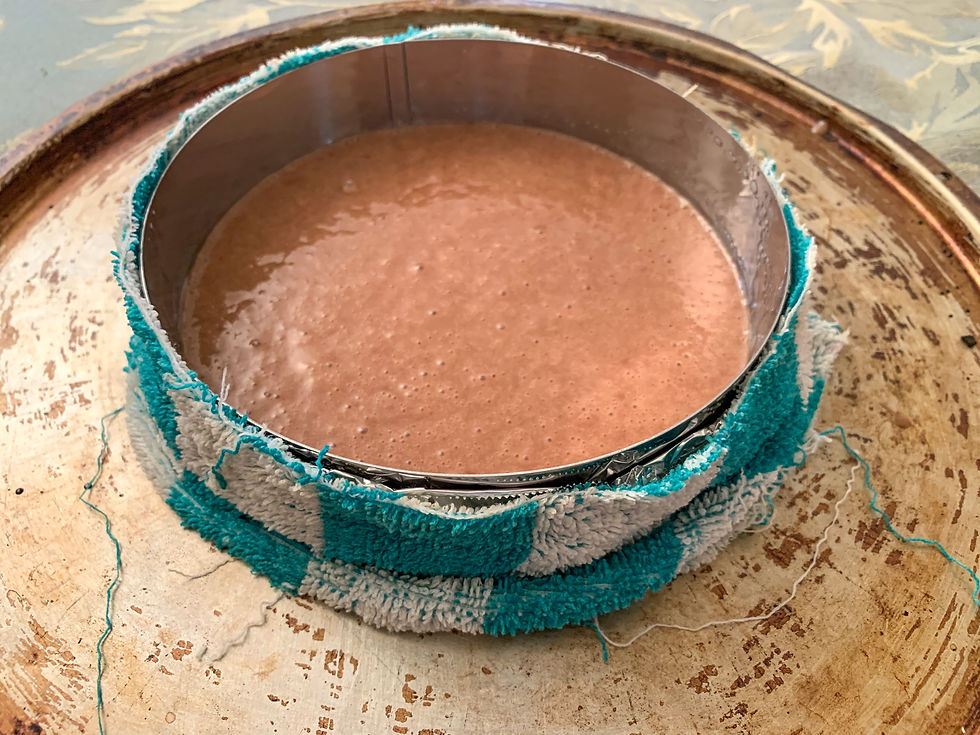
Let the finished cake cool on a wire rack. Make sure the cake has slightly cooled before transferring to prevent it from breaking. A wire rack allows air to circulate around the cake and prevents the bottom from getting soggy from condensation.

THE FILLING
A simple custard filling has six ingredients: milk, sugar, salt, cornstarch, egg, and vanilla.
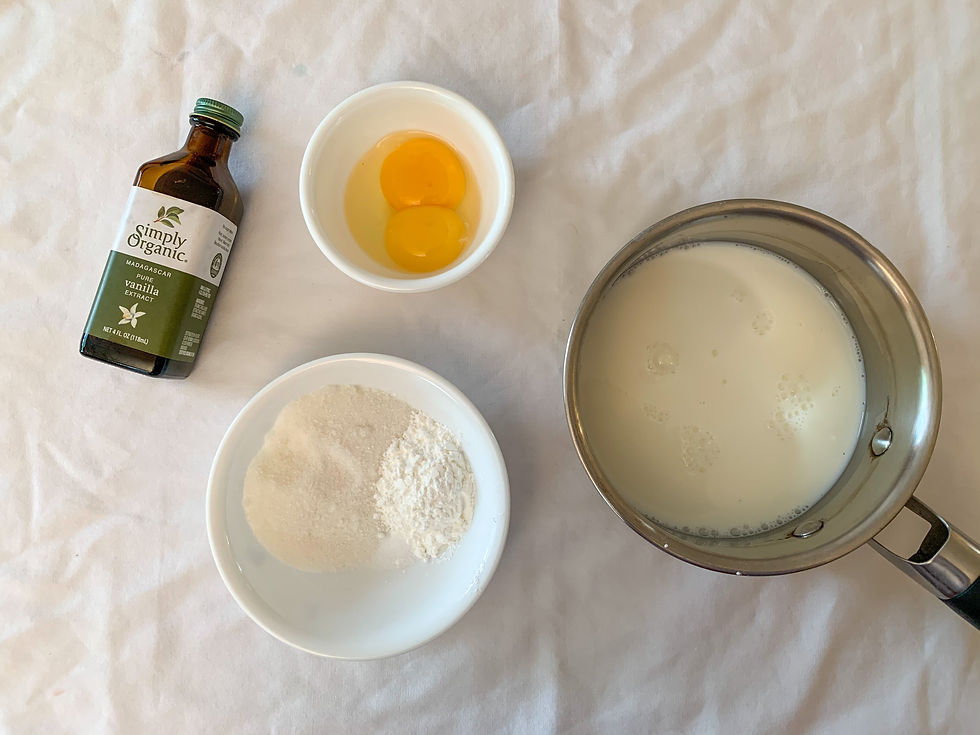
To make custard, first bring milk and sugar to a boil on low to medium heat. Then, take it off the heat and let it cool slightly. Whip together egg yolks, cornstarch, and salt. Pour the egg mixture into the milk off the heat, whisking constantly. Put the custard mixture back on heat until it comes to a boil. Whisk constantly to prevent lumps. Let cool for 5 minutes and add vanilla. Let custard cool in the fridge for at least 30 minutes. *Full recipe at the bottom.

The custard will thicken as it cools. Mine ended up with a few clumps at the end, but it was not noticeable when eating!
THE ASSEMBLY
Before assembling the cake, it's helpful to brush off crumbs from the sides. These loose crumbs will get into your frosting, so it is best to remove them in the beginning. I used a silicon brush, but other utensils (or hands) would work just as well.

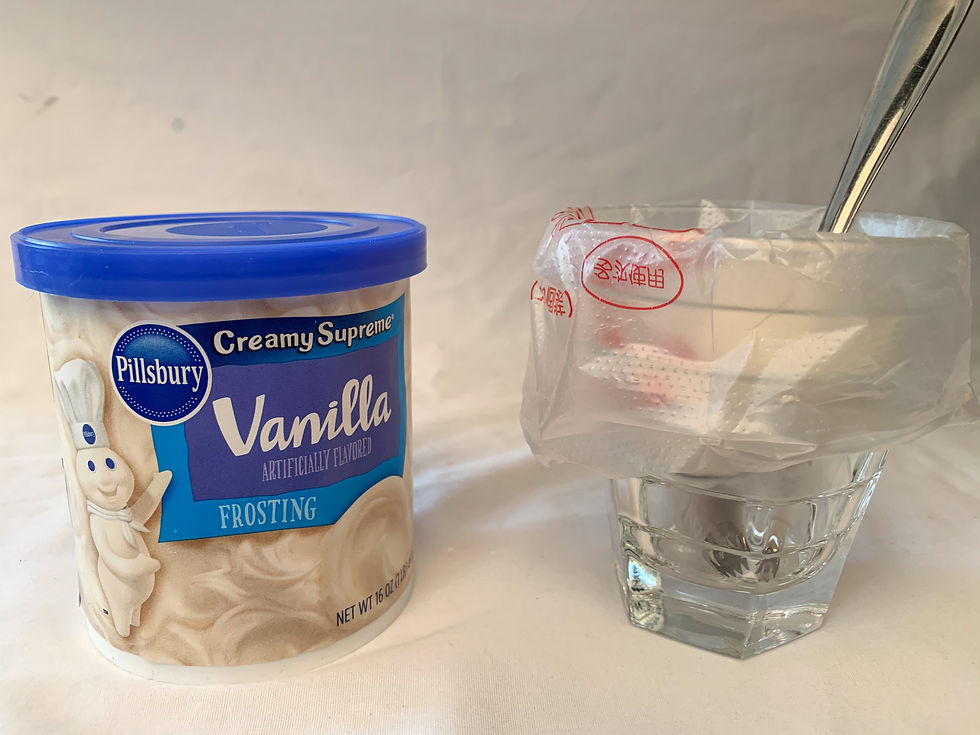
Before filling, I piped a border with store bought frosting. The border around the filling helps contain the filling and prevent it from spilling. Store bought frosting does not taste the greatest, so I would avoid using it on large areas of the cake. It works best for piping decorations and maintaining its form. To fill a piping bag, it's helpful to place the bag in a cup, scoop the frosting in, and then take the bag out and push the frosting to the bottom.
For each layer, pipe a border with frosting and fill with around 1/2 cup custard filling. This may look like a lot initially, but ends up compressing from the weight of the cake to be just the right amount.

Continue doing this for all the layers of the cake. I choose the cake that has the least crumbs for my top layer, so the frosting comes on clean. Sometimes, it is helpful to turn the top layer upside down so it is completely flat.
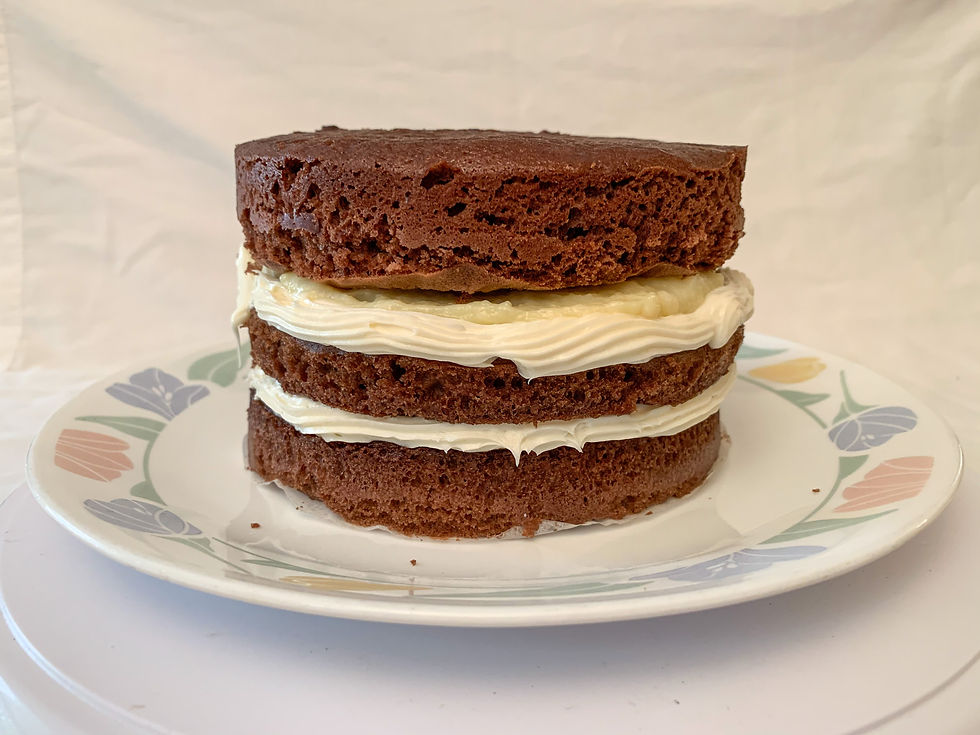
To finish the base of the cake, add a crumb coat. This is a thin layer of frosting that helps catch all the remaining crumbs. The goal is for the crumbs not to show in the final layer of frosting. This is especially important in cakes where the frosting color is significantly different than the color of the cake and when there will be a thin layer of frosting.
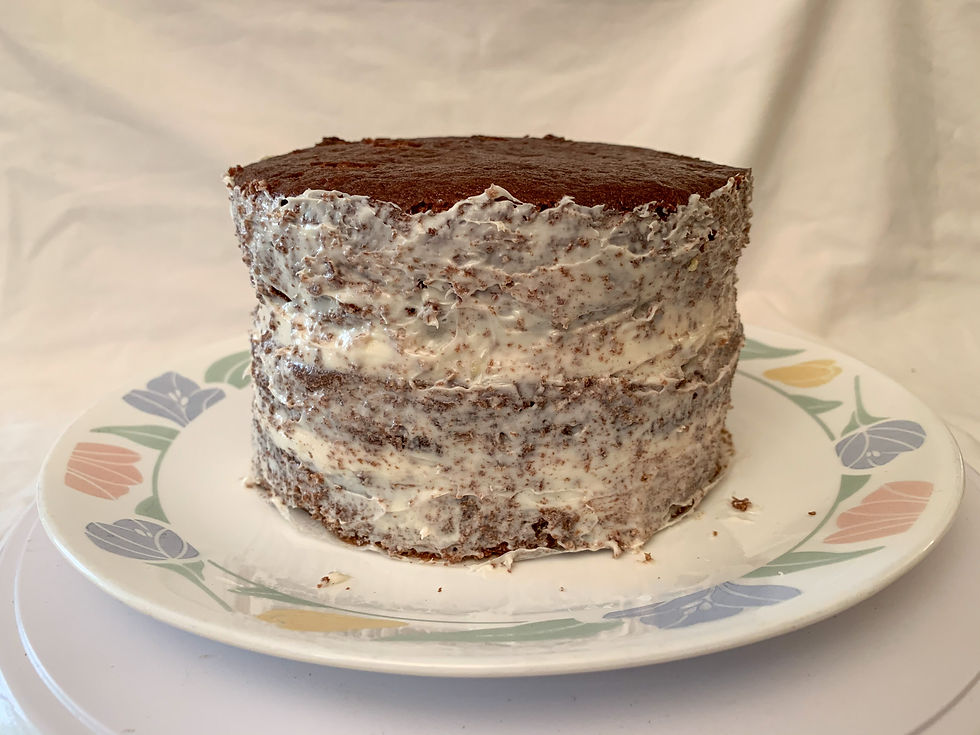
Let the crumb coat chill for 30 minutes to an hour for the frosting to completely set.
THE FROSTING
To make dulce de leche frosting, you need dulce de leche, butter, powdered sugar, milk, vanilla, and a little bit of salt. Traditional caramel is made from heating sugar, while dulce de leche is made from heating milk and sugar, making it much creamier.
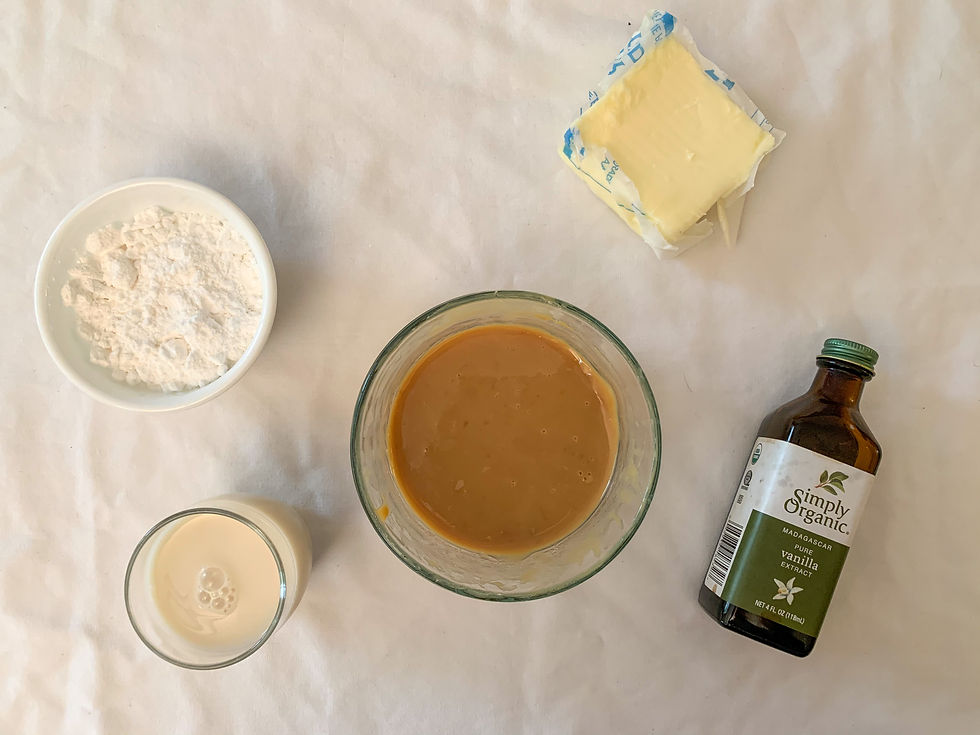
To make the frosting, start by whipping softened butter until light and fluffy. Add in dulce de leche and powdered sugar and continue whipping. Add in small amounts of milk and salt until the desired sweetness is reached. For additional flavor, add a little bit of vanilla. The result is a rich, creamy buttercream that has just the right amount of sweetness. *Full recipe at the bottom.

Use an angled spatula to place globs of frosting on the sides of the cake. First, cover the entire cake in frosting without worrying about evenness. Then, using a turntable, use an angled spatula to evenly spread the frosting while the cake is rotating. If you don't have a turntable, simply work in small sections at a time until the cake is even. I had limited amounts of frosting and chose not to cover portions where the unicorn mane would be.

THE DECORATING
Basic cake decorating equipment:
Turntable: This revolving cake stand provides easy access to all sides of the cake. It is especially helpful when frosting or decorating the sides of a cake.
Angled Spatula: This is most commonly used to frost the sides and top of a cake and have a smooth finish.
Decorating Tips: These are most helpful when adding details to a cake. The most useful ones are star, open star, and round tip. Large tips are good for cupcakes and large decorations, while the small ones are helpful for adding details or writing.
Piping Bags: These are used with piping tips and have the proper shape at the end to hold the tip in place. You can also use parchment paper or ziploc bags.
Coupler: This tip attachment allows you to use multiple decorating tips with the same piping bag. These often come with a decorating tip set and prevent a lot of frosting waste.
Food Colors: Food colors are pretty straight forward - they come in liquid or powder forms and add pigment to frosting. A small amount of color goes a long way, so they are a great investment (I bought my colors in middle school and have plenty to go). You can also use natural ingredients like turmeric or cocoa powder to dye or tint frosting.

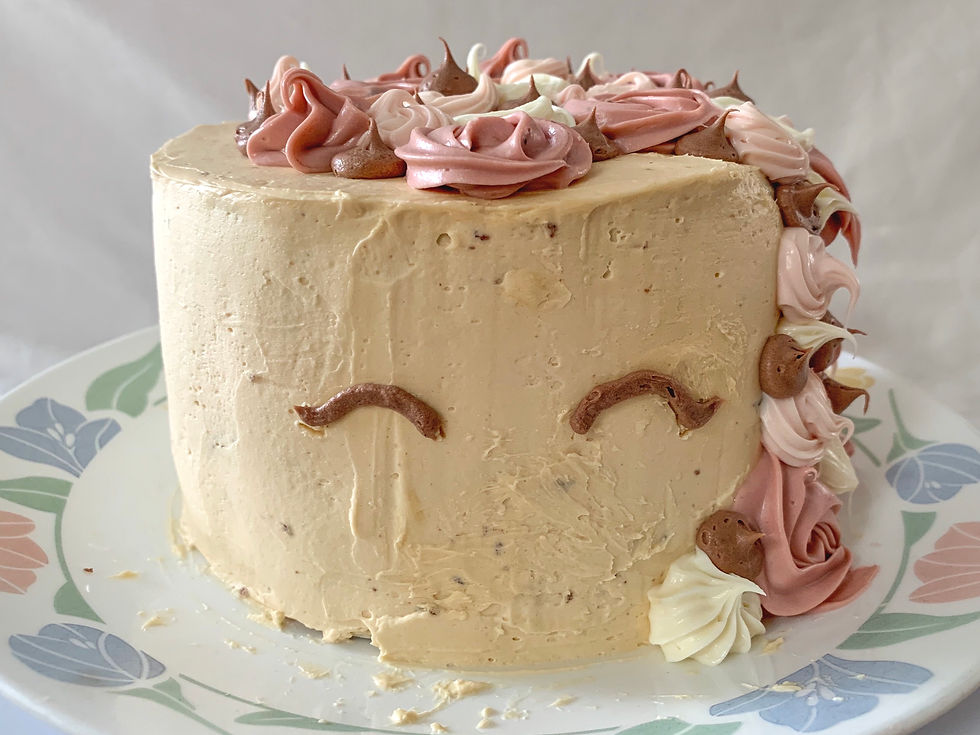
For the unicorn cake, I used four different tips to create the mane on top. I used store bought frosting for the decorations since it is usually stiffer and easier to work with than homemade.
Light Pink: White frosting with half a drop of pink food coloring, small star tip.
Brown: White frosting with cocoa powder, medium round tip.
White: White frosting with no colors, large open star tip (4B).
Dark Pink: White frosting with a drop of pink food coloring and cocoa powder, large star tip (1M).

I piped rosettes and dollops onto the mane. I started with the large dark pink and white, then filled in gaps with light pink, and lastly filled the small holes with brown. I had golden edible pearls, so I filled the smallest holes with those.

I chilled the cake in the fridge for 30 minutes before adding final touches. When frosting is cool, it is somewhat moldable and you can use your finger or a tool to smooth it out. I fixed rough patches on the sides and flattened the tips while the frosting was cool. Before piping the eyes, I drew an outline of what I wanted with a toothpick, so I could adjust it if necessary. Then, I piped over the outline with a small round tip. I also covered some spots with where cake was showing with additional frosting (what I call spot treatment) before chilling the cake another time. I smoothed these patches over before the final assembly of the cake.
THE HORN AND EARS
Ideally, the horn and ears would be made out of fondant. Store bought fondant tastes awful, so I usually opt for homemade marshmallow fondant. Most brands of marshmallows have gelatin, but Trader Joe's has an affordable vegan option. Unfortunately, they have been out of stock so I made the horn and ears out of a white chocolate truffle. You can make easy homemade truffles by mixing together melted chocolate and greek yogurt. Let the mixture cool in the fridge for around 15 minutes and you are good to go!

When the chocolate has cooled and feels almost solid, take around 2/3 to mold the horn. Roll it on top of powdered sugar until it makes a cone and then twist it to form a horn. The chocolate will melt very quickly so it is important to work fast. I used a flower nail to help me shape my cone and give it structure, but a skewer would work just as well. Then, I made two smaller ears and shaped them like a teardrop. Insert a toothpick into the ears, and then let cool in the fridge on top of a spoon to have a rounded shape.
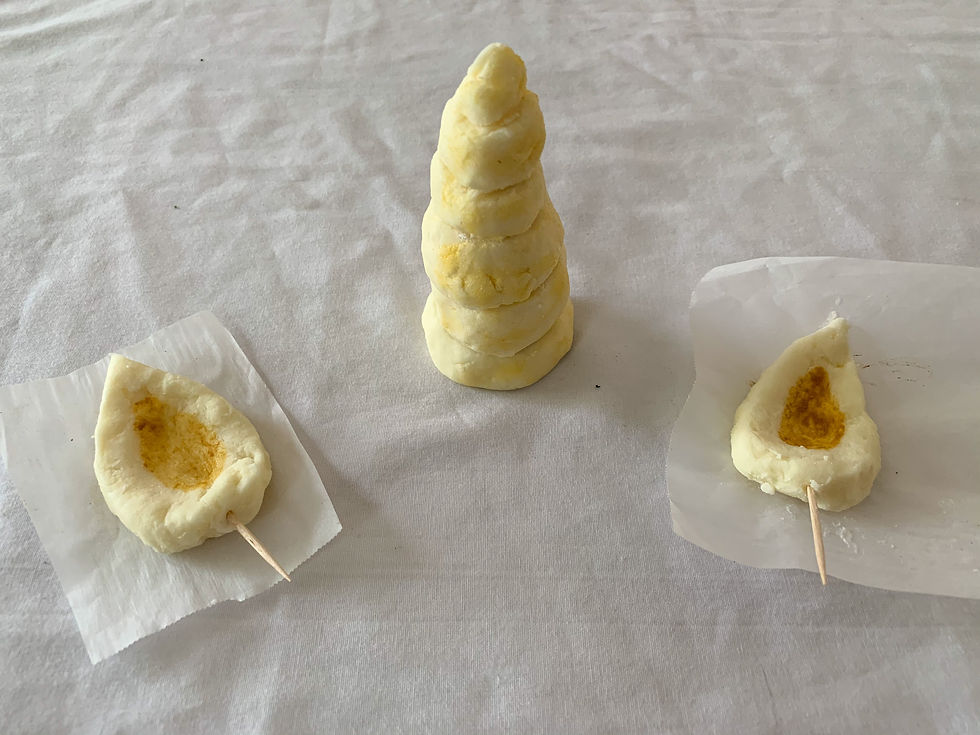
I covered the horn in edible gold dust and painted the inside of the ears. To make gold paint, mix together gold dust and vanilla extract. I used an unused gum cleaner as a paint brush.
THE FINAL PRODUCT

The cake turned out just as I hoped! It took me two days to make, but the effort was worth it in the end.
THE RECIPES
Dulce de Leche Frosting
Yield: 1 cup
Ingredients:
1/4 c butter, softened
7 oz dulce de leche
2 T powdered sugar
1/8 t salt
1/2 - 1 t milk
1/4 t vanilla (optional)
Directions:
Cream butter with an electric mixer for 1-2 minutes.
Add in dulce de leche, sugar, and salt and beat until light and fluffy.
Add in milk until desired texture is reached. Add vanilla if desired.
Custard
Yield: 1 1/4 cups
Ingredients:
1 c milk
1/4 c sugar
1 1/2 T cornstarch
1 egg
1/2 t vanilla
1/8 t salt
Directions:
Bring milk and sugar to a boil on low to medium heat.
Take off the heat and let cool for 2-4 minutes.
In a separate bowl, mix together eggs, cornstarch, and salt.
Add the egg mixture into the milk. Cook on low to medium heat until mixture boils, whisking constantly to prevent lumps.
Take off the heat and add vanilla.
Let cool in fridge for 30 minutes to 1 hour before using.
Chocolate Truffles
Yield: 12 truffles or 1 horn and 2 ears
Ingredients:
6 oz white or semi sweet chocolate
1 1/2 T greek yogurt
Powdered sugar or cocoa powder
Directions:
Melt the chocolate in the microwave in intervals of 15 seconds. Stir the chocolate each time, as it is very easy to burn.
Add greek yogurt to the melted chocolate.
Let cool in fridge for 15-20 minutes. This would increase/decrease based on the amount of chocolate you have.
Scoop out 1 - 2 t sized scoops of cooled chocolate. It will be hard at this stage. Mold it into a ball (it will soften as you work with it) and coat in powdered sugar or cocoa powder to prevent sticking.


Comments